Blog post -
Case Study: the Packaging Process
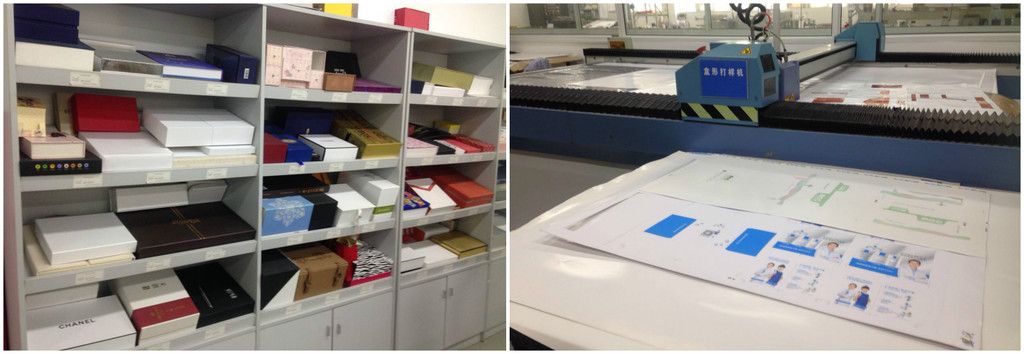
Last Tuesday we visited one of the biggest printing enterprises in China to better understand the packaging production process and see the technology involved behind the theory. The company specialized itself mainly in the printing and the converting of items such as packaging, shopping bags, gift boxes, high-class catalogues and hardcover books.
Hand made paper bags, machine made paper bags, rigid or foldable boxes – they all require different production procedures but the core is the same: the printing, finishing, die cutting and folding/assembling process.
In the following part we would like to show you the main steps of this packaging creation procedure.
Prepare the Artwork
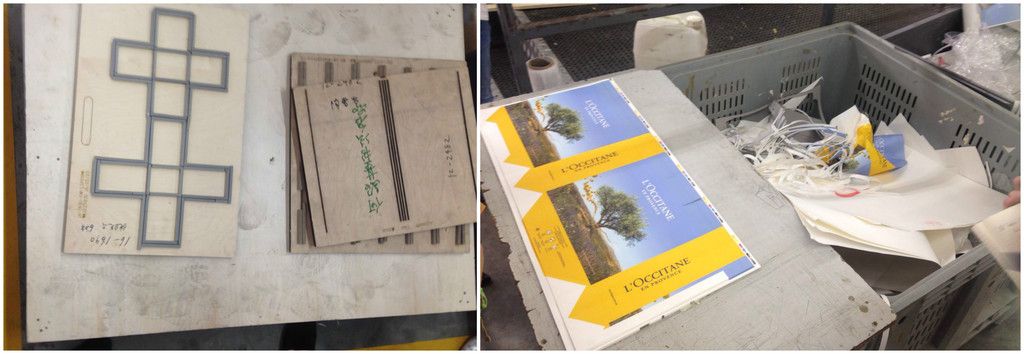
1.1 Artwork Proof
Before starting the printing process, we need to make sure that everything is ready which is why we have to check the colors, the size and the dimension of the product. In order to do that, we can get an artwork proof from the client and use digital printing to prepare the prototype. The proof has to match with our prototype color at a rate of about 90-95%.
It is important to bear in mind that the digital printing won’t be able to show how the final color will look like because for the digital print we use ink instead of oil. As a result the color is just printed and will be different from the final version.
The digital printing sample can help prepare the artwork nonetheless, but it should only be used for reference – as a cheap prototype – to check the structure.
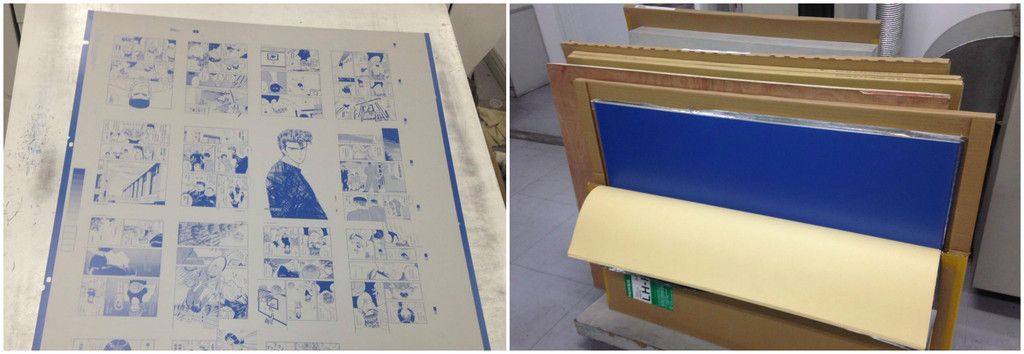
1.2 Preparing the Plate
After obtaining the confirmation from the client about the artwork, we can proceed with the production of the printing plate that will be used in the printing machine. For every color printed out, a different printing plate is needed.
Printing
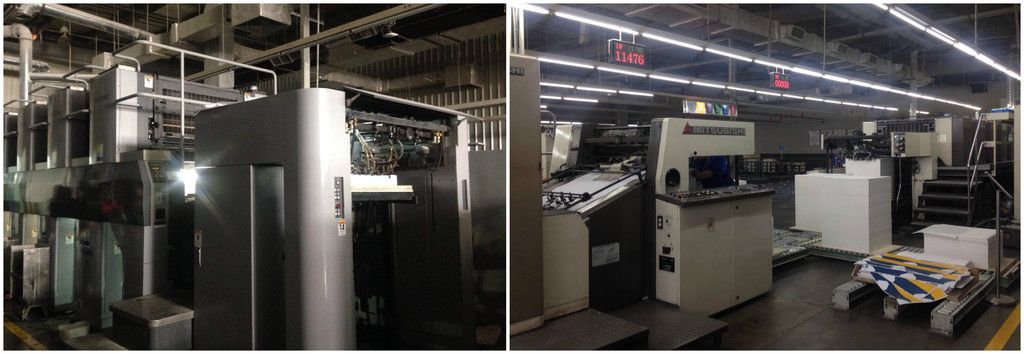
2.1 Offset Printing
This type of printing is used for mass production and its demand is high because of its quality: the color is identical with the clients’ expectations. It is more expensive than digital printing and more time is needed as well. One printing machine can contain up to 8 printing cylinders. After printing, all the cylinders are cleaned up with a special spray to remove the remaining ink. In general hand made paper bags are produced using this offset printing technique.
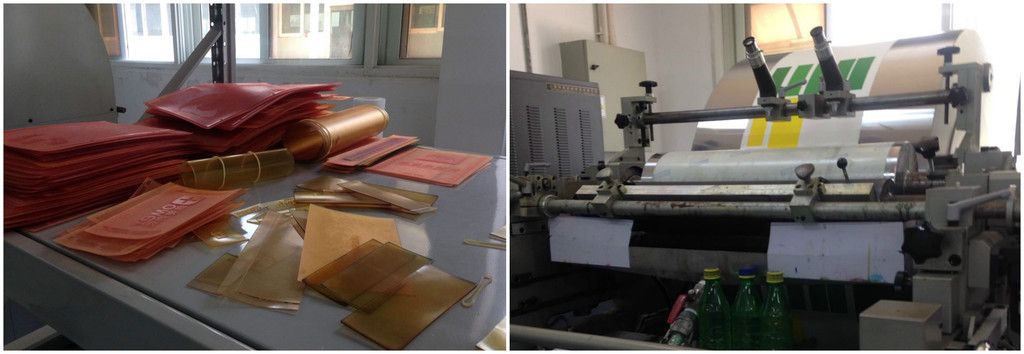
2.2 Flexographic Printing
Flexography (often abbreviated to flexo) is a type of printing that utilizes a flexible relief plate. In the flexographic printing machine there are three rollers involved: a meter roll (referring to its function of metering the amount of ink applied to the plate), a roller to which the plate is attached, and an impression roller. Flexographic printing can be performed on a wide range of materials. Some of the most popular materials are plastic, paper, cardboard and cellophane. We use flexo printing for the production of machine made paper bags, for instance.
Assembling
3.1 Die Cutting Machine
The die cutting machine is used to crease and die-cut ordinary cardboard, corrugated board, plastic sheets or leather packaging products.
3.2 Folding/Handles
Once printed, hand made paper bags need to be folded by hand. After that, the reinforcement can be put inside and the handles are inserted by hand as well. In terms of machine made paper bags, handles are produced and glued in by machine usually.
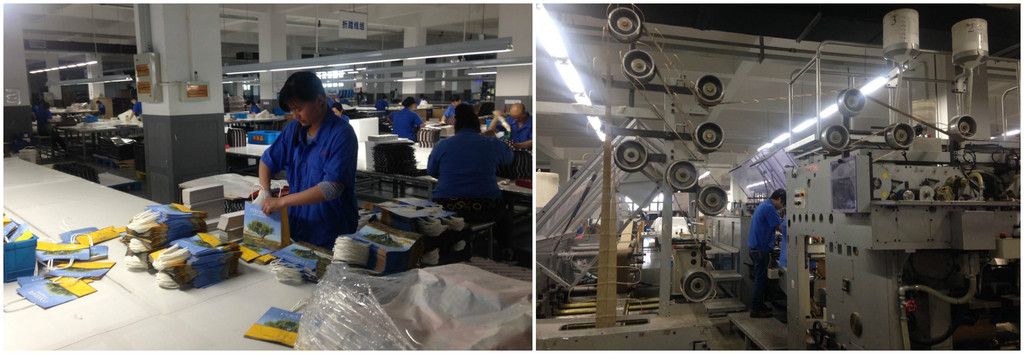
Now have a look at the final product! We hope that this case study will help you to better understand the various steps of the packaging process.
Read more Swedbrand blog posts at swedbrand.com/blog, or visit our website at swedbrand.com.
Written by
Alessandra Ruggeri
Liudmila Pape
Topics
- Packaging, packing
Categories
- packaging
- swedbrand
- swedbrand group
- innovation